If you’ve ever found yourself with an abundance of fresh banana peppers from your garden or a great farmers market haul, learning how to preserve them is a game-changer.
This canned banana pepper recipe transforms those mild, tangy peppers into shelf-stable jars of goodness that you can enjoy year-round. The simple brine of vinegar, water, and spices creates perfectly pickled peppers with that signature sweet-tart flavor that complements everything from sandwiches to pizzas.
Canning banana peppers at home is surprisingly straightforward, even if you’re new to preserving foods.
The water bath canning method ensures your peppers stay crisp and flavorful for months, giving you the satisfaction of opening a jar of homemade pickled peppers whenever a craving strikes.
Ingredients for Canned Banana Pepper Recipe
| Ingredient | Amount |
|---|---|
| Fresh banana peppers | 3 pounds |
| White vinegar (5% acidity) | 4 cups |
| Water | 2 cups |
| Granulated sugar | 2 tablespoons |
| Pickling salt or kosher salt | 3 tablespoons |
| Garlic cloves, peeled | 6 cloves |
| Black peppercorns | 2 teaspoons |
| Dried oregano | 1 teaspoon |
| Red pepper flakes (optional) | 1/2 teaspoon |
How To Make Canned Banana Peppers
- Prepare your canning jars by washing them thoroughly in hot, soapy water. Sterilize pint or quart jars by placing them in a large pot of boiling water for 10 minutes. Keep them hot until ready to fill. Prepare lids according to manufacturer’s instructions.
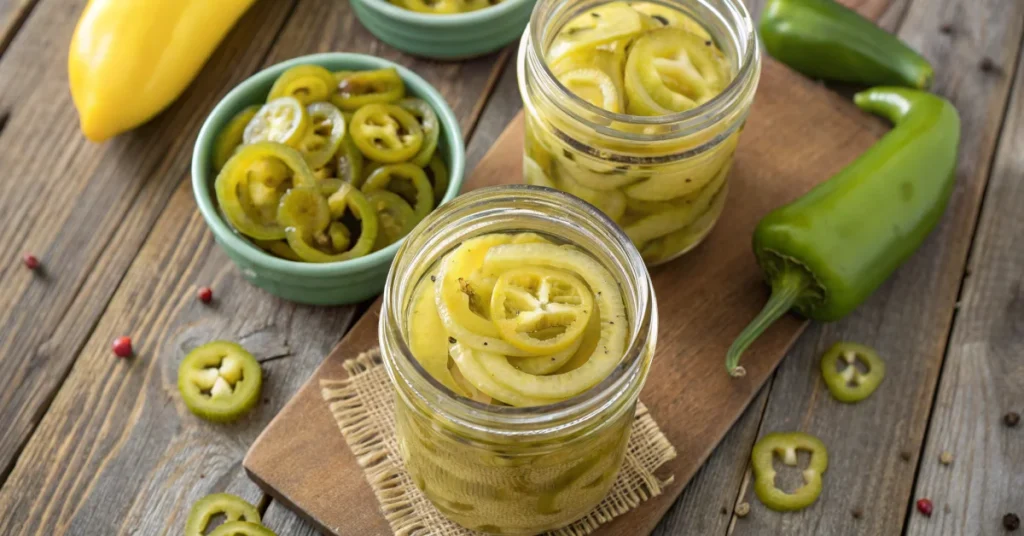
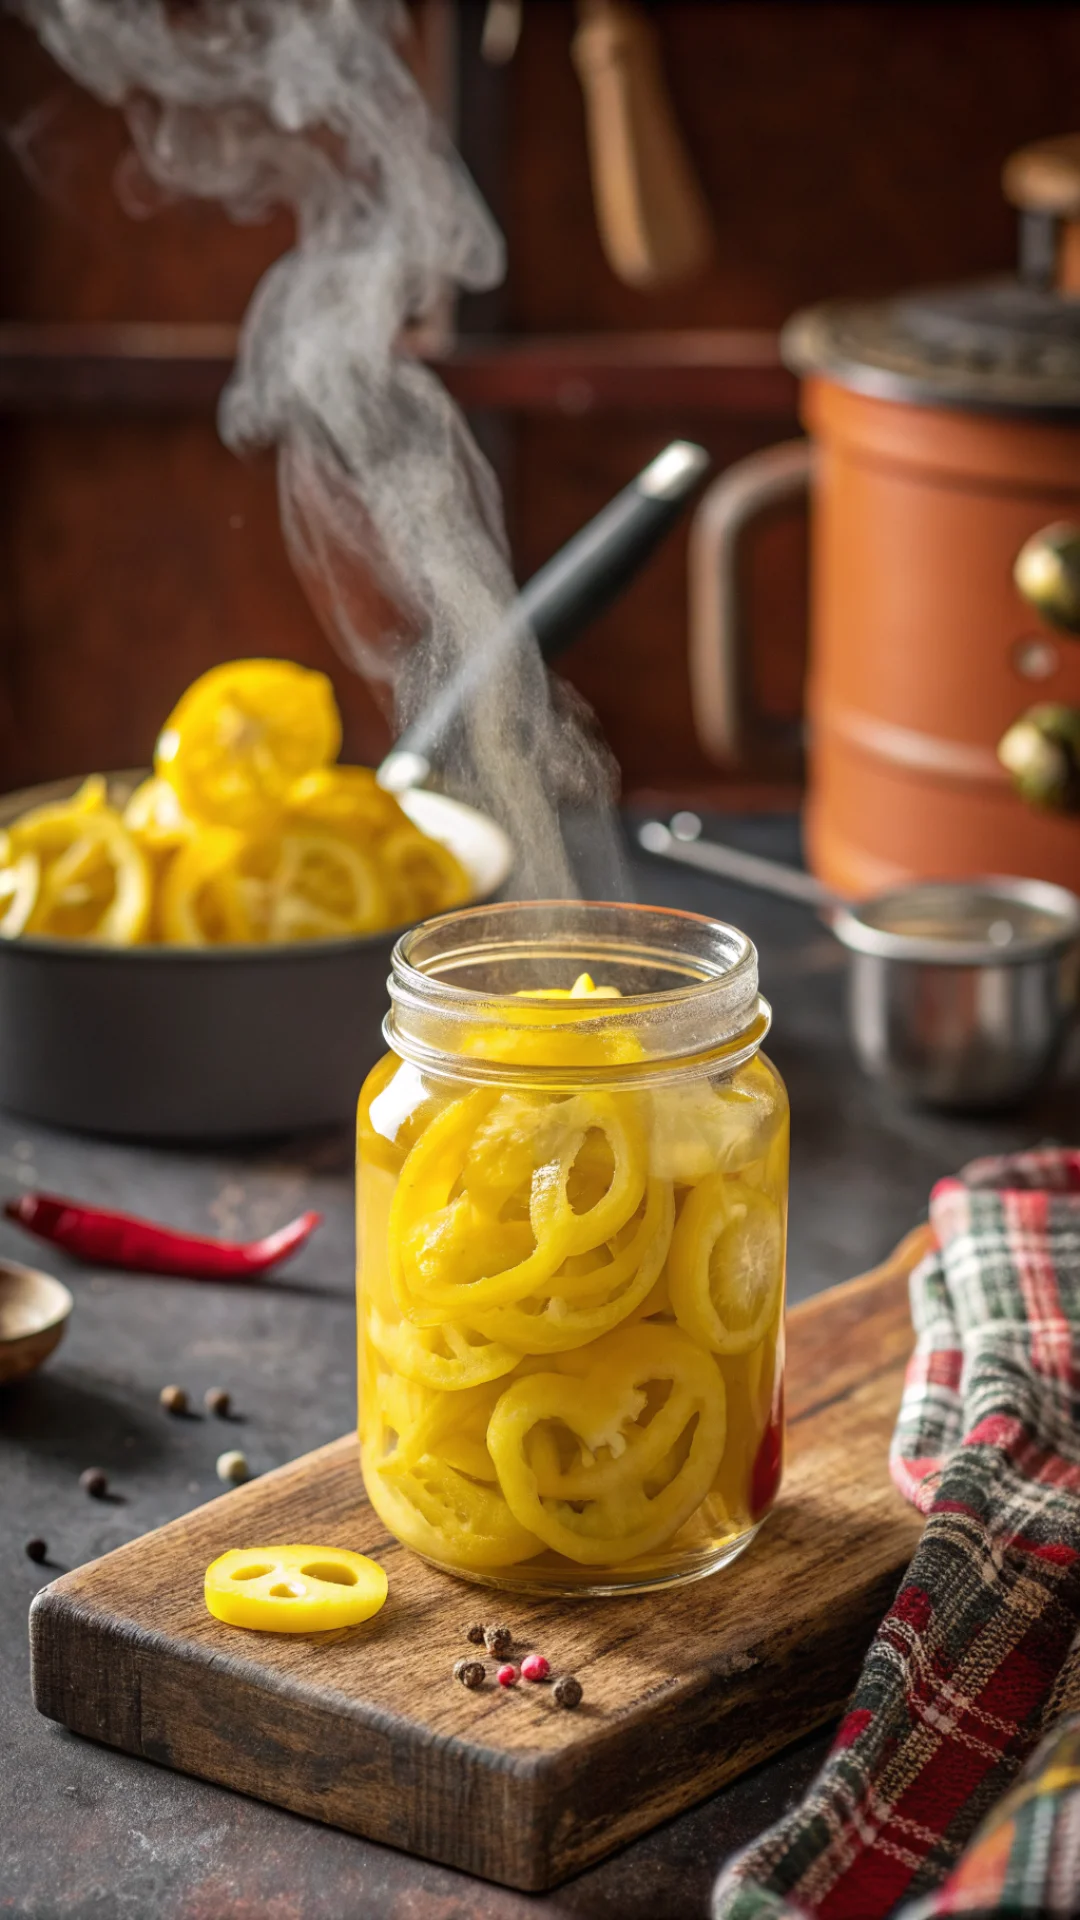
- Wash the banana peppers thoroughly under cold running water. Slice off the stems and cut the peppers into rings about 1/4-inch thick. You can also leave smaller peppers whole if preferred, just pierce them with a knife to allow brine penetration.
- In a large stainless steel or enamel pot, combine the vinegar, water, sugar, and salt. Bring the mixture to a rolling boil over high heat, stirring occasionally to ensure the sugar and salt dissolve completely.
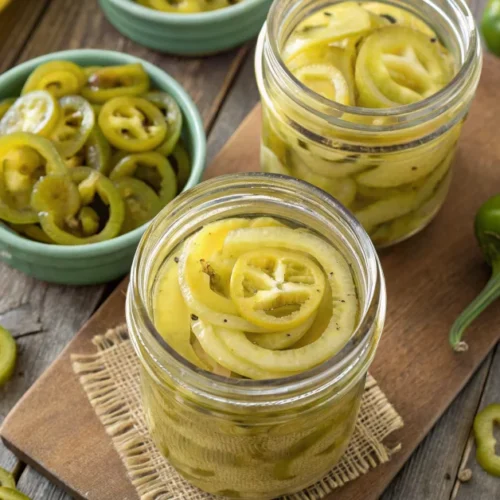
- Pack the sliced banana peppers into the hot sterilized jars, leaving 1/2-inch headspace at the top. Add one garlic clove, a few peppercorns, a pinch of oregano, and red pepper flakes (if using) to each jar for enhanced flavor.
- Carefully ladle the hot brine over the peppers in each jar, maintaining the 1/2-inch headspace. Use a non-metallic utensil to remove any air bubbles by sliding it down the sides of the jar and gently pressing the peppers.
- Wipe the jar rims clean with a damp cloth to ensure a proper seal. Place the lids on the jars and screw on the bands until fingertip-tight—don’t overtighten.
- Process the jars in a boiling water bath canner. Make sure jars are covered by at least 1 inch of water. Process pint jars for 10 minutes and quart jars for 15 minutes, adjusting for altitude if necessary.
- Remove jars from the canner using jar lifters and place them on a towel-lined surface. Let them cool undisturbed for 12-24 hours. You should hear the satisfying “ping” of lids sealing as they cool.
- Check seals after cooling by pressing the center of each lid. If it doesn’t flex, the jar is sealed properly. Label jars with contents and date, then store in a cool, dark place for up to one year.
Tips and Tricks
- Always use vinegar with at least 5% acidity for safe canning. This ensures proper preservation and prevents bacterial growth.
- Wear gloves when handling peppers if you have sensitive skin, as the oils can cause irritation even with mild varieties.
- For crispier peppers, add a grape leaf or 1/4 teaspoon of calcium chloride (Pickle Crisp) to each jar before adding brine.
- Allow canned peppers to sit for at least 2-3 weeks before opening to let flavors fully develop and meld together.
- If any jars don’t seal properly, refrigerate them immediately and use within 2-3 weeks.
- Adjust the sugar amount based on your preference—more sugar creates a sweeter pickle, less makes them more tangy.
- Save any leftover brine to use as a marinade for chicken or to add tang to salad dressings.
Delicious Variations to Try
Once you’ve mastered the basic recipe, experimenting with different flavor profiles is incredibly fun. Try creating a spicy version by adding fresh jalapeños or habanero slices to the jars along with extra red pepper flakes. For a Mediterranean twist, include fresh dill sprigs, mustard seeds, and coriander seeds in the brine. These additions create complex layers of flavor that make your canned peppers truly unique.
You can also mix banana peppers with other vegetables for a colorful giardiniera-style mix. Add sliced carrots, cauliflower florets, celery chunks, and pearl onions to create a versatile Italian-style pickled vegetable medley. This variation is perfect for antipasto platters and makes an impressive gift for food-loving friends.
For a sweeter option, increase the sugar to 1/2 cup and add a cinnamon stick to each jar. This sweet-and-sour version pairs beautifully with charcuterie boards and aged cheeses. The subtle warmth from the cinnamon complements the peppers’ natural sweetness while maintaining that signature tangy bite.
Frequently Asked Questions
Can I use apple cider vinegar instead of white vinegar?
Yes, you can substitute apple cider vinegar as long as it has 5% acidity. It will give the peppers a slightly different flavor profile with a fruity undertone, which many people prefer. Just ensure the acidity level is clearly marked on the bottle for safe canning.
How long do canned banana peppers last?
Properly canned and sealed banana peppers stored in a cool, dark place will last 12-18 months. Once opened, transfer the jar to the refrigerator where the peppers will stay fresh for 1-2 months. Always check for signs of spoilage before consuming.
Do I need special equipment for canning?
While a water bath canner makes the process easier, you can use any large pot deep enough to cover jars by at least 1 inch of water with a lid. You’ll need jar lifters, a funnel, and a bubble remover tool, though these can be improvised with kitchen tools you already own.
Final Thoughts
Canning banana peppers is a rewarding way to preserve summer’s bounty and ensure you have delicious, tangy peppers available whenever you need them.
With this simple recipe and proper technique, you’ll create shelf-stable jars that taste far better than anything store-bought.
The process becomes easier with practice, and soon you’ll find yourself looking forward to canning season each year. Enjoy your homemade pickled peppers on sandwiches, pizzas, salads, or straight from the jar as a zesty snack!
Canned Banana Peppers
Ingredients
- 3 pounds fresh banana peppers
- 4 cups white vinegar 5% acidity
- 2 cups water
- 2 tablespoons granulated sugar
- 3 tablespoons pickling salt or kosher salt
- 6 cloves garlic peeled
- 2 teaspoons black peppercorns
- 1 teaspoon dried oregano
- ½ teaspoon red pepper flakes optional
Instructions
- Sterilize pint or quart jars by boiling for 10 minutes. Keep hot until ready to fill. Prepare lids according to manufacturer’s instructions.
- Wash banana peppers thoroughly. Slice off stems and cut into 1/4-inch rings.
- In a large pot, combine vinegar, water, sugar, and salt. Bring to a rolling boil, stirring until sugar and salt dissolve.
- Pack sliced peppers into hot jars, leaving 1/2-inch headspace. Add garlic, peppercorns, oregano, and red pepper flakes to each jar.
- Ladle hot brine over peppers, maintaining 1/2-inch headspace. Remove air bubbles with a non-metallic utensil.
- Wipe jar rims clean. Place lids on jars and screw bands on fingertip-tight.
- Process in boiling water bath for 10 minutes (pints) or 15 minutes (quarts), ensuring jars are covered by 1 inch of water.
- Remove jars and let cool undisturbed for 12-24 hours. Check seals before storing in a cool, dark place.