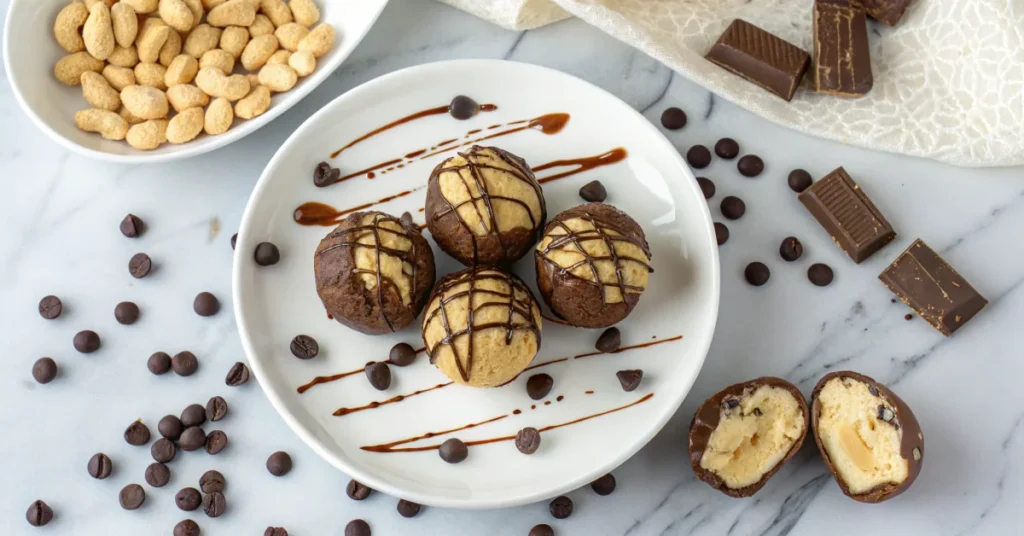
If you’re craving a decadent dessert that requires zero oven time, these no bake peanut butter cheesecake balls are your answer.
These delightful bite-sized treats combine the creamy richness of cheesecake with the irresistible flavor of peanut butter, all wrapped in a smooth chocolate coating.
Whether you’re preparing for a party, looking for an impressive homemade gift, or simply satisfying a sweet tooth, this recipe delivers restaurant-quality results in under an hour of hands-on work.
Ingredients for No Bake Peanut Butter Cheesecake Balls
| Ingredient | Amount |
|---|---|
| Cream cheese, softened | 8 oz |
| Creamy peanut butter | 1 cup |
| Powdered sugar | 2 cups |
| Vanilla extract | 1 teaspoon |
| Sea salt | ¼ teaspoon |
| Milk chocolate chips or wafers | 12 oz |
| Coconut oil or shortening | 1 tablespoon |
| Optional toppings: crushed peanuts, sprinkles, or sea salt | As desired |
How To Make No Bake Peanut Butter Cheesecake Balls
Begin by ensuring your cream cheese is at room temperature. This is crucial for achieving a smooth, lump-free filling. If it’s still cold, let it sit on the counter for 15-20 minutes before starting.
In a large mixing bowl, beat the softened cream cheese and peanut butter together until well combined and creamy. This should take about 2-3 minutes of mixing.
Gradually add the powdered sugar to the mixture, beating on low speed to prevent the sugar from flying everywhere. Continue mixing until the filling is smooth and holds together well.
Stir in the vanilla extract and sea salt, mixing until everything is fully incorporated. The mixture should be thick, smooth, and easy to scoop.
Scoop the mixture into small balls using a cookie scoop or rounded tablespoon. You should get approximately 24-30 balls depending on size. Place them on a parchment-lined baking sheet.
Freeze the balls for at least 2 hours, or until they’re firm to the touch. This step is essential for preventing them from falling apart during chocolate coating.
While the balls freeze, melt your chocolate chips with the coconut oil using a microwave or double boiler method. If using the microwave, heat in 30-second intervals, stirring between each one to prevent scorching.
Allow the melted chocolate to cool slightly so it’s warm but not hot, which prevents it from sliding off the frozen balls.
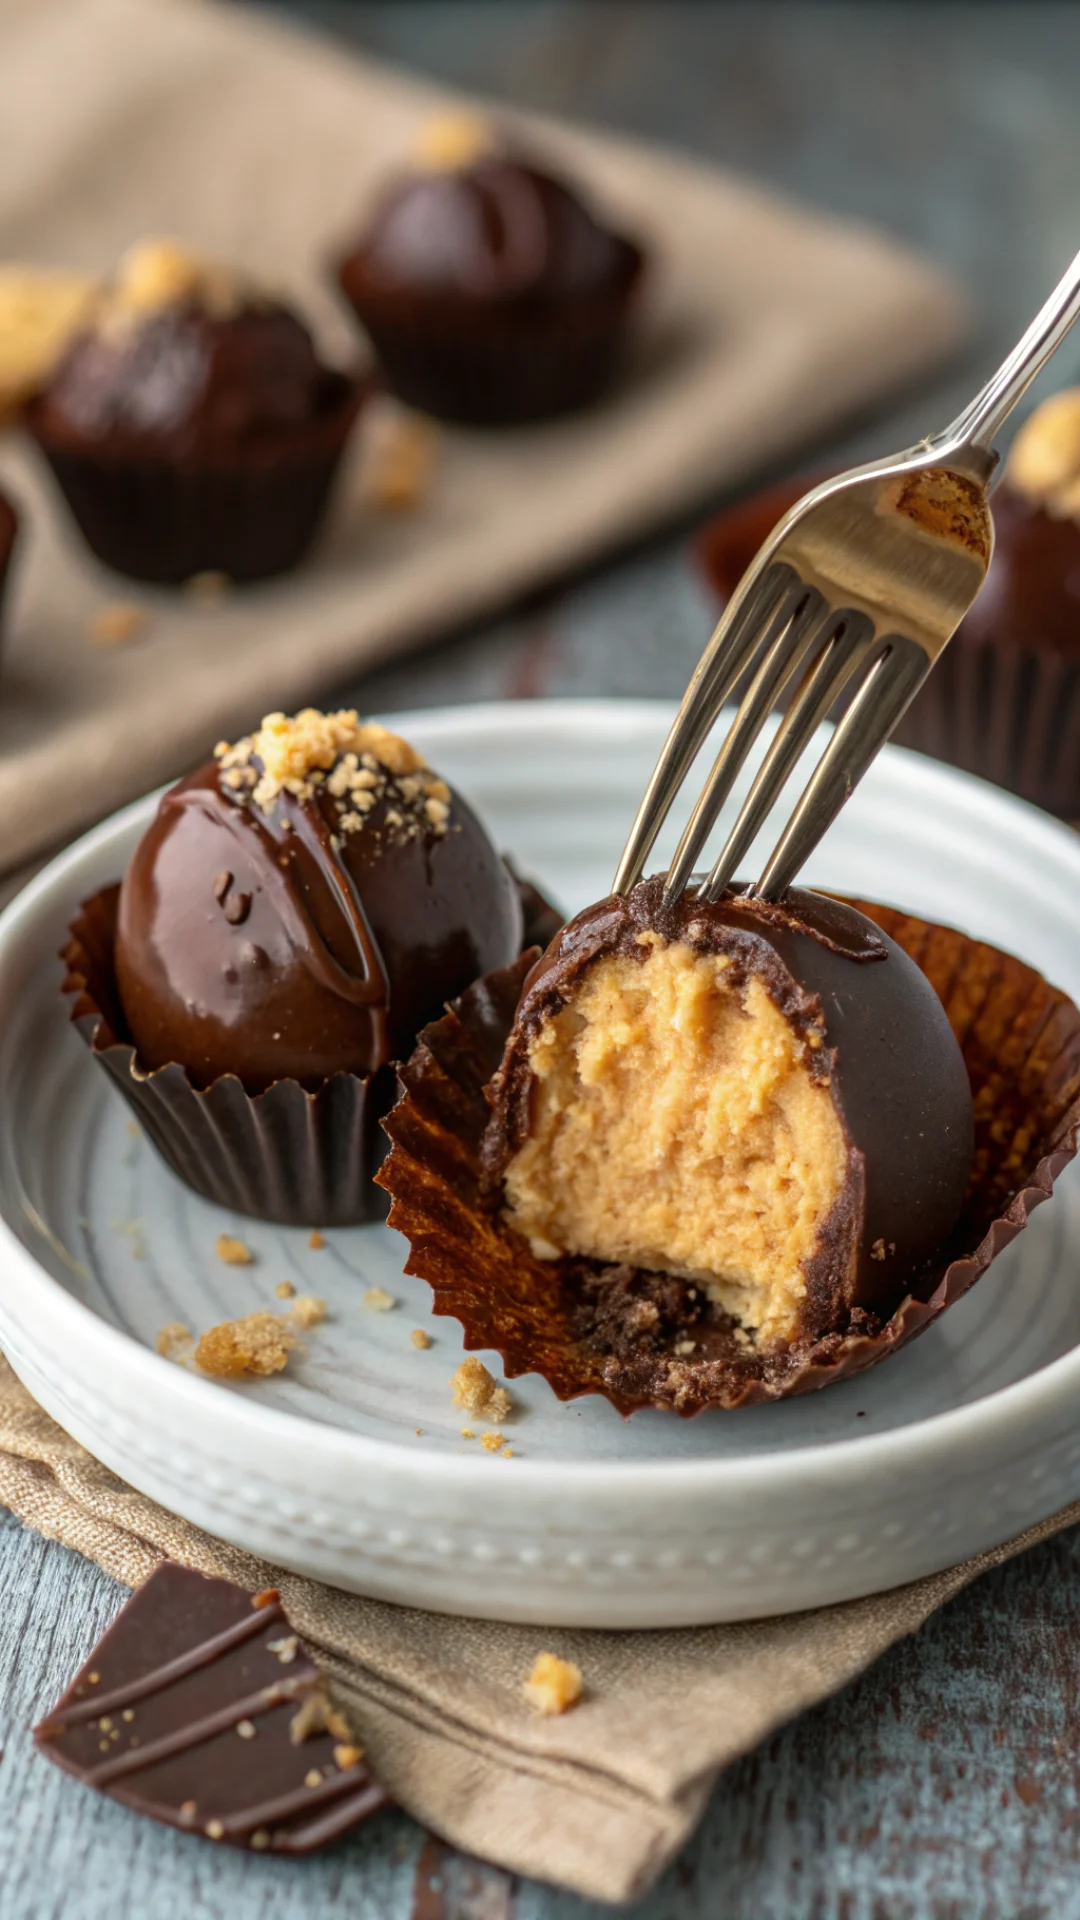
Using a fork, dipping tool, or skewer, carefully dip each frozen ball into the melted chocolate, ensuring it’s completely covered. Allow excess chocolate to drip back into the bowl.
Place each chocolate-covered ball back on the parchment-lined sheet. If desired, add toppings like crushed peanuts, sprinkles, or a pinch of sea salt immediately after dipping, before the chocolate sets.
Return the finished balls to the freezer for 30 minutes to allow the chocolate coating to set completely.
Transfer to an airtight container for storage. They’ll keep refrigerated for up to two weeks or frozen for up to three months.
Tips and Tricks
Room temperature is key: Always bring cream cheese to room temperature before mixing to avoid lumps and ensure smooth texture.
Use a cookie scoop: A cookie scoop creates uniform-sized balls that look more professional and freeze evenly.
Freeze before dipping: Don’t skip the initial freezing step. Properly frozen balls won’t crumble when dipped in chocolate.
Chocolate consistency matters: If your chocolate is too thick, add more coconut oil in small increments. If too thin, add a bit more melted chocolate.
Quick dipping: Work efficiently when dipping to prevent the filling from thawing. Keep the balls in the freezer and only remove a few at a time.
Double-coat for elegance: For extra-thick chocolate coating, dip each ball twice, allowing the first coat to set between applications.
Parchment paper is essential: It prevents sticking and makes cleanup incredibly easy.
Add flavor variations: Experiment with almond butter, cashew butter, or honey to personalize the filling.
Delicious Variations to Try
Chocolate Coating Variations for No Bake Peanut Butter Cheesecake Balls
- Try a dark chocolate coating instead of milk chocolate for a richer, more intense flavor that pairs perfectly with the creamy peanut butter filling.
- Use white chocolate coating for a sweeter and more delicate taste that gives the dessert a smooth, melt-in-your-mouth finish.
- Combine coatings by dipping in white chocolate first, then drizzling dark chocolate on top for a beautiful two-tone bakery-style presentation.
Flavor Enhancements and Filling Ideas
- Add instant coffee powder to the filling to create a mocha-inspired version with a subtle coffee kick.
- Mix in a tablespoon of honey for extra sweetness and a light caramel-like depth of flavor.
- Crush Oreos or vanilla wafers and fold them into the mixture for a cookies-and-cream style variation.
- Stir in peanut butter powder to intensify the peanut flavor without making the mixture too heavy.
- Replace part of the peanut butter with almond butter or cashew butter for a different nutty twist and smoother flavor profile.
Toppings and Finishing Touch Variations
- Drizzle finished balls with contrasting melted chocolate for a decorative bakery-style look.
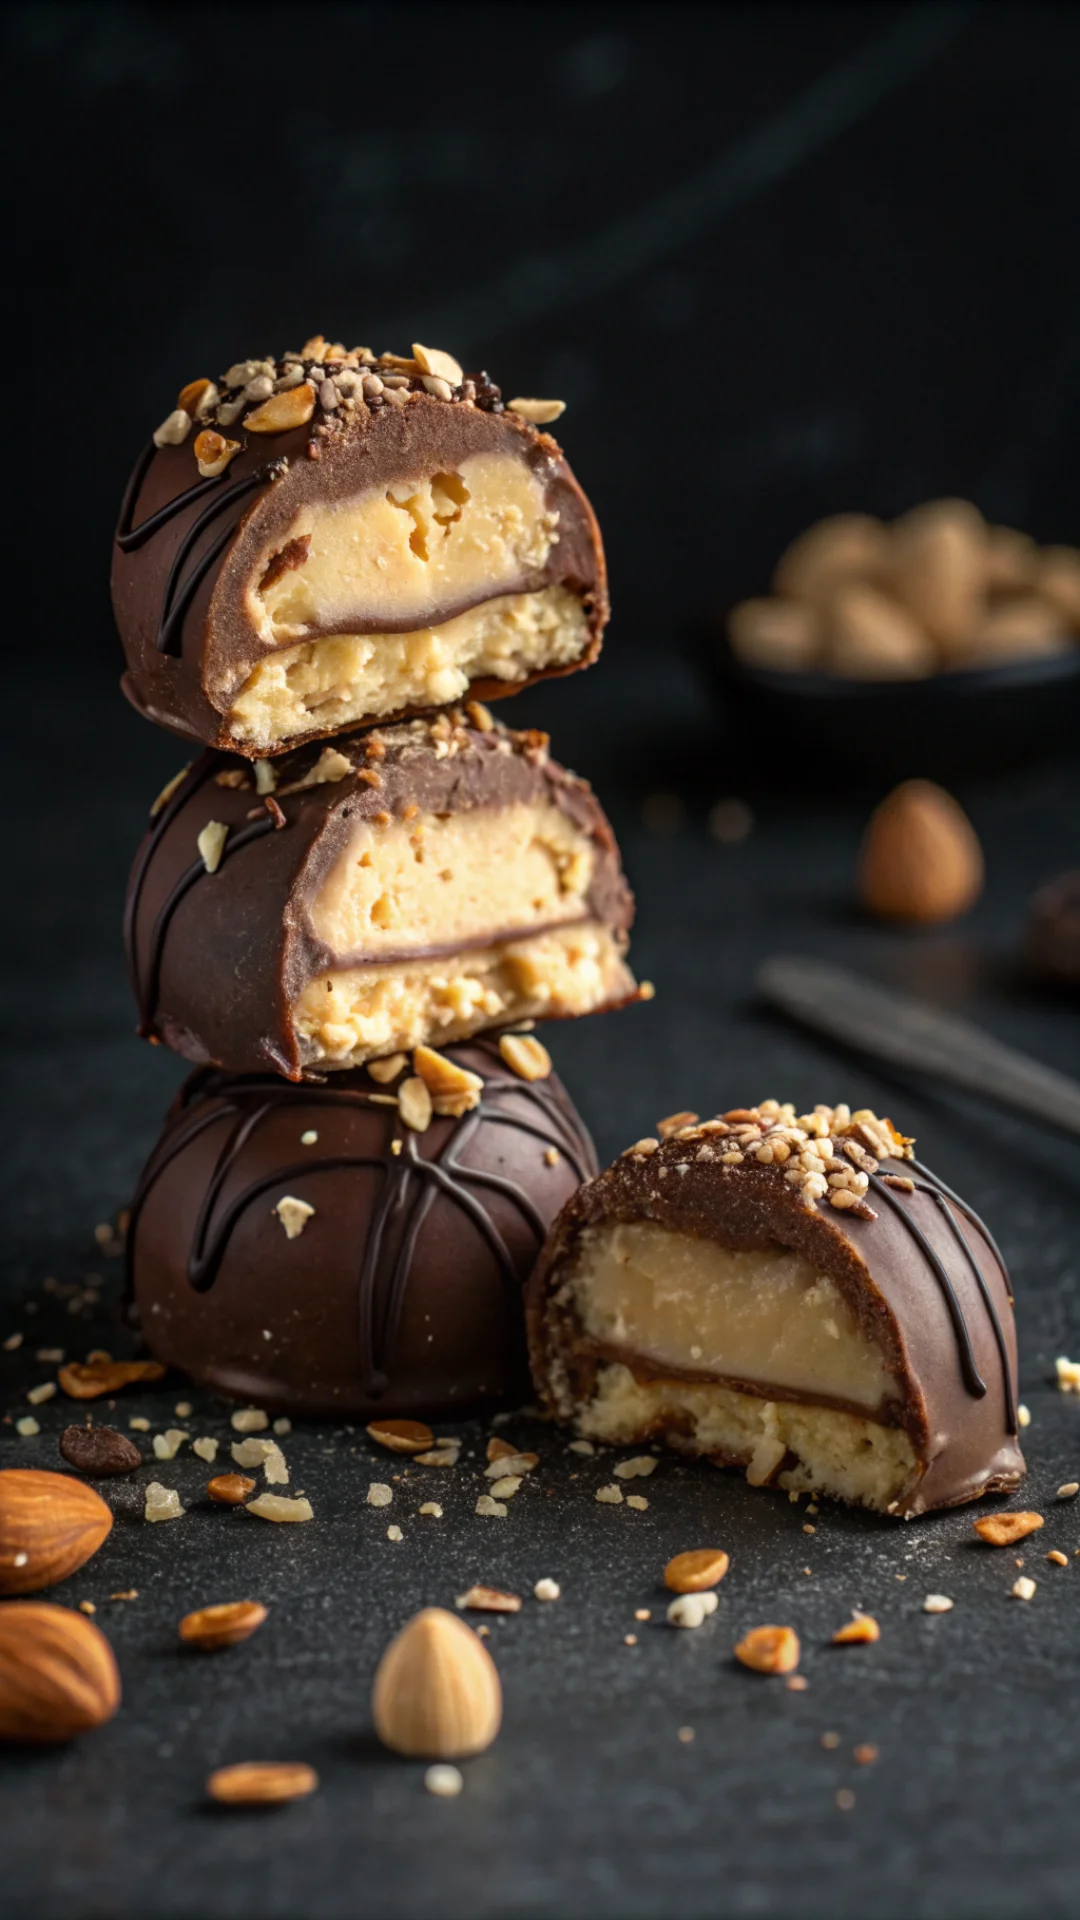
- Roll them in crushed nuts such as almonds, peanuts, or hazelnuts before the chocolate sets for added crunch.
- Sprinkle crushed candy bars on top to create a fun and indulgent dessert-style coating.
- Add a salted caramel drizzle over the finished balls for a rich sweet-and-salty balance.
- Finish with a pinch of sea salt flakes to enhance flavor depth and give a gourmet touch to every bite.
Frequently Asked Questions
Can I make these ahead of time?
Yes, absolutely! These no bake peanut butter cheesecake balls are perfect for advance preparation. You can make them up to two weeks ahead and store them in an airtight container in the refrigerator. They also freeze beautifully for up to three months, making them ideal for batch cooking or holiday preparation.
What’s the best way to store them?
Store your finished balls in an airtight container in the refrigerator for the longest shelf life of two weeks, or in the freezer for up to three months. When freezing, separate layers with parchment paper to prevent sticking. Thaw in the refrigerator for 15-20 minutes before serving if you prefer them slightly softer.
Can I use natural peanut butter instead of creamy?
You can use natural peanut butter, but the texture may be slightly grainier and the balls might be less stable. If you prefer natural peanut butter, make sure it’s well-mixed and doesn’t have excess oil on top. You may need to add an extra tablespoon or two of powdered sugar to achieve the right consistency for rolling.
Final Thoughts
No bake peanut butter cheesecake balls represent the perfect intersection of simplicity and elegance. They require minimal ingredients, no special equipment beyond basic kitchen tools, and absolutely no baking expertise to master.
Whether you’re a seasoned baker looking for a no-fuss dessert or a beginner wanting to impress with homemade treats, this recipe delivers consistently delicious results every single time.
The combination of creamy cheesecake, rich peanut butter, and smooth chocolate coating creates a flavor experience that rivals any bakery confection, all while keeping you out of the kitchen and stress-free.
Make a batch today and experience why these little bites have become a beloved favorite among dessert enthusiasts everywhere.
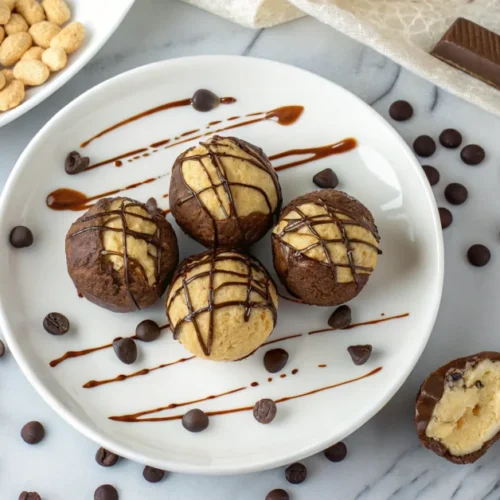
No Bake Peanut Butter Cheesecake Balls
Ingredients
- 8 oz Cream cheese, softened
- 1 cup Creamy peanut butter
- 2 cups Powdered sugar
- 1 teaspoon Vanilla extract
- ¼ teaspoon Sea salt
- 12 oz Milk chocolate chips or wafers
- 1 tablespoon Coconut oil or shortening
- As desired Optional toppings: crushed peanuts, sprinkles, or sea salt
Instructions
- Ensure cream cheese is at room temperature for 15-20 minutes to achieve smooth mixing.
- Beat softened cream cheese and peanut butter together until well combined and creamy, about 2-3 minutes.
- Gradually add powdered sugar while beating on low speed to prevent splashing.
- Stir in vanilla extract and sea salt until fully incorporated.
- Scoop mixture into 24-30 balls using a cookie scoop and place on parchment-lined baking sheet.
- Freeze balls for at least 2 hours until firm to the touch.
- Melt chocolate chips with coconut oil in microwave in 30-second intervals, stirring between each, or use a double boiler.
- Allow melted chocolate to cool slightly so it’s warm but not hot.
- Dip each frozen ball into melted chocolate using a fork or dipping tool, ensuring complete coverage.
- Place dipped balls back on parchment sheet and immediately add optional toppings if desired.
- Return to freezer for 30 minutes to allow chocolate coating to set completely.
- Transfer finished balls to airtight container for storage in refrigerator up to 2 weeks or freezer up to 3 months.